Restore Windows
Gentle paint and putty removal with precision.
Restore and remove paint from old windows
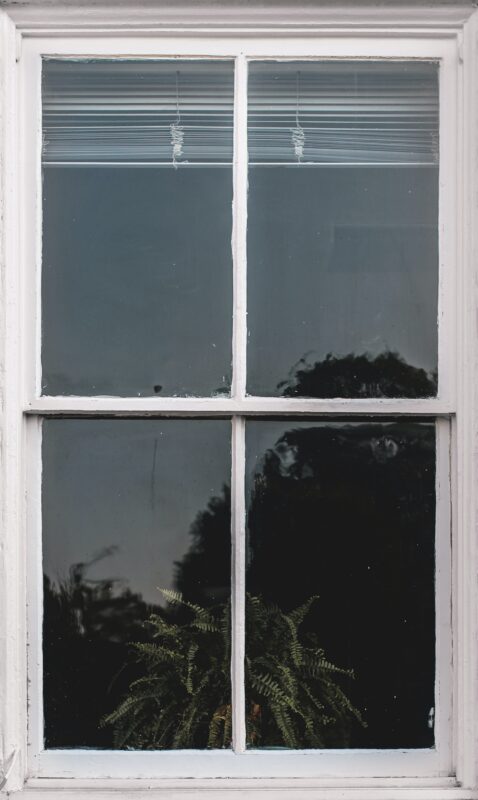
Thinking about restoring windows in your house or reusing old window frames? Great idea! At Speedheater, we encourage window restoration and making use of the resources you already have. Doing so isn’t just kind to your wallet, it’s also kind to the environment and your surroundings. And best of all, old windows are incredibly beautiful and help give your house unique craftsmanship and character.
Whether you’re a beginner or professional, Speedheater’s products make window restoration fast, fun and non-toxic! We have all the tools you need to both prepare the material and ensure you get into all the nooks and crannies, and there’s no need to worry about damaging the surface or exposing yourself to harmful toxins while restoring your windows.
Step by step
How to restore a window!
Step 1
Prepare your old window
Taking down, marking and working on the sash
- Always use protective gloves and safety glasses when handling glass.
- Check all fittings to see which ones still work, which need to be repaired and which need to be replaced.
- Are there any uneven surfaces or irregularities on the sash? Repair any irregularities immediately or mark them for repair once the window has been taken down.
- Mark hinges, sashes and windows before removing. Glass and sash frames are unique and should be kept together the same way they were when mounted in the wall. Write down where each piece is located with respect to the entire window and how each piece fits together. Mark which pieces belong to which window, as well as which direction each side faces (inside or outside).
- Disassemble the window and lay on a flat surface. We recommend laying some kind of protective paper or cardboard underneath the window to collect any dirt and glass chips.
See products
Step 2
Heat up and scrape off old paint
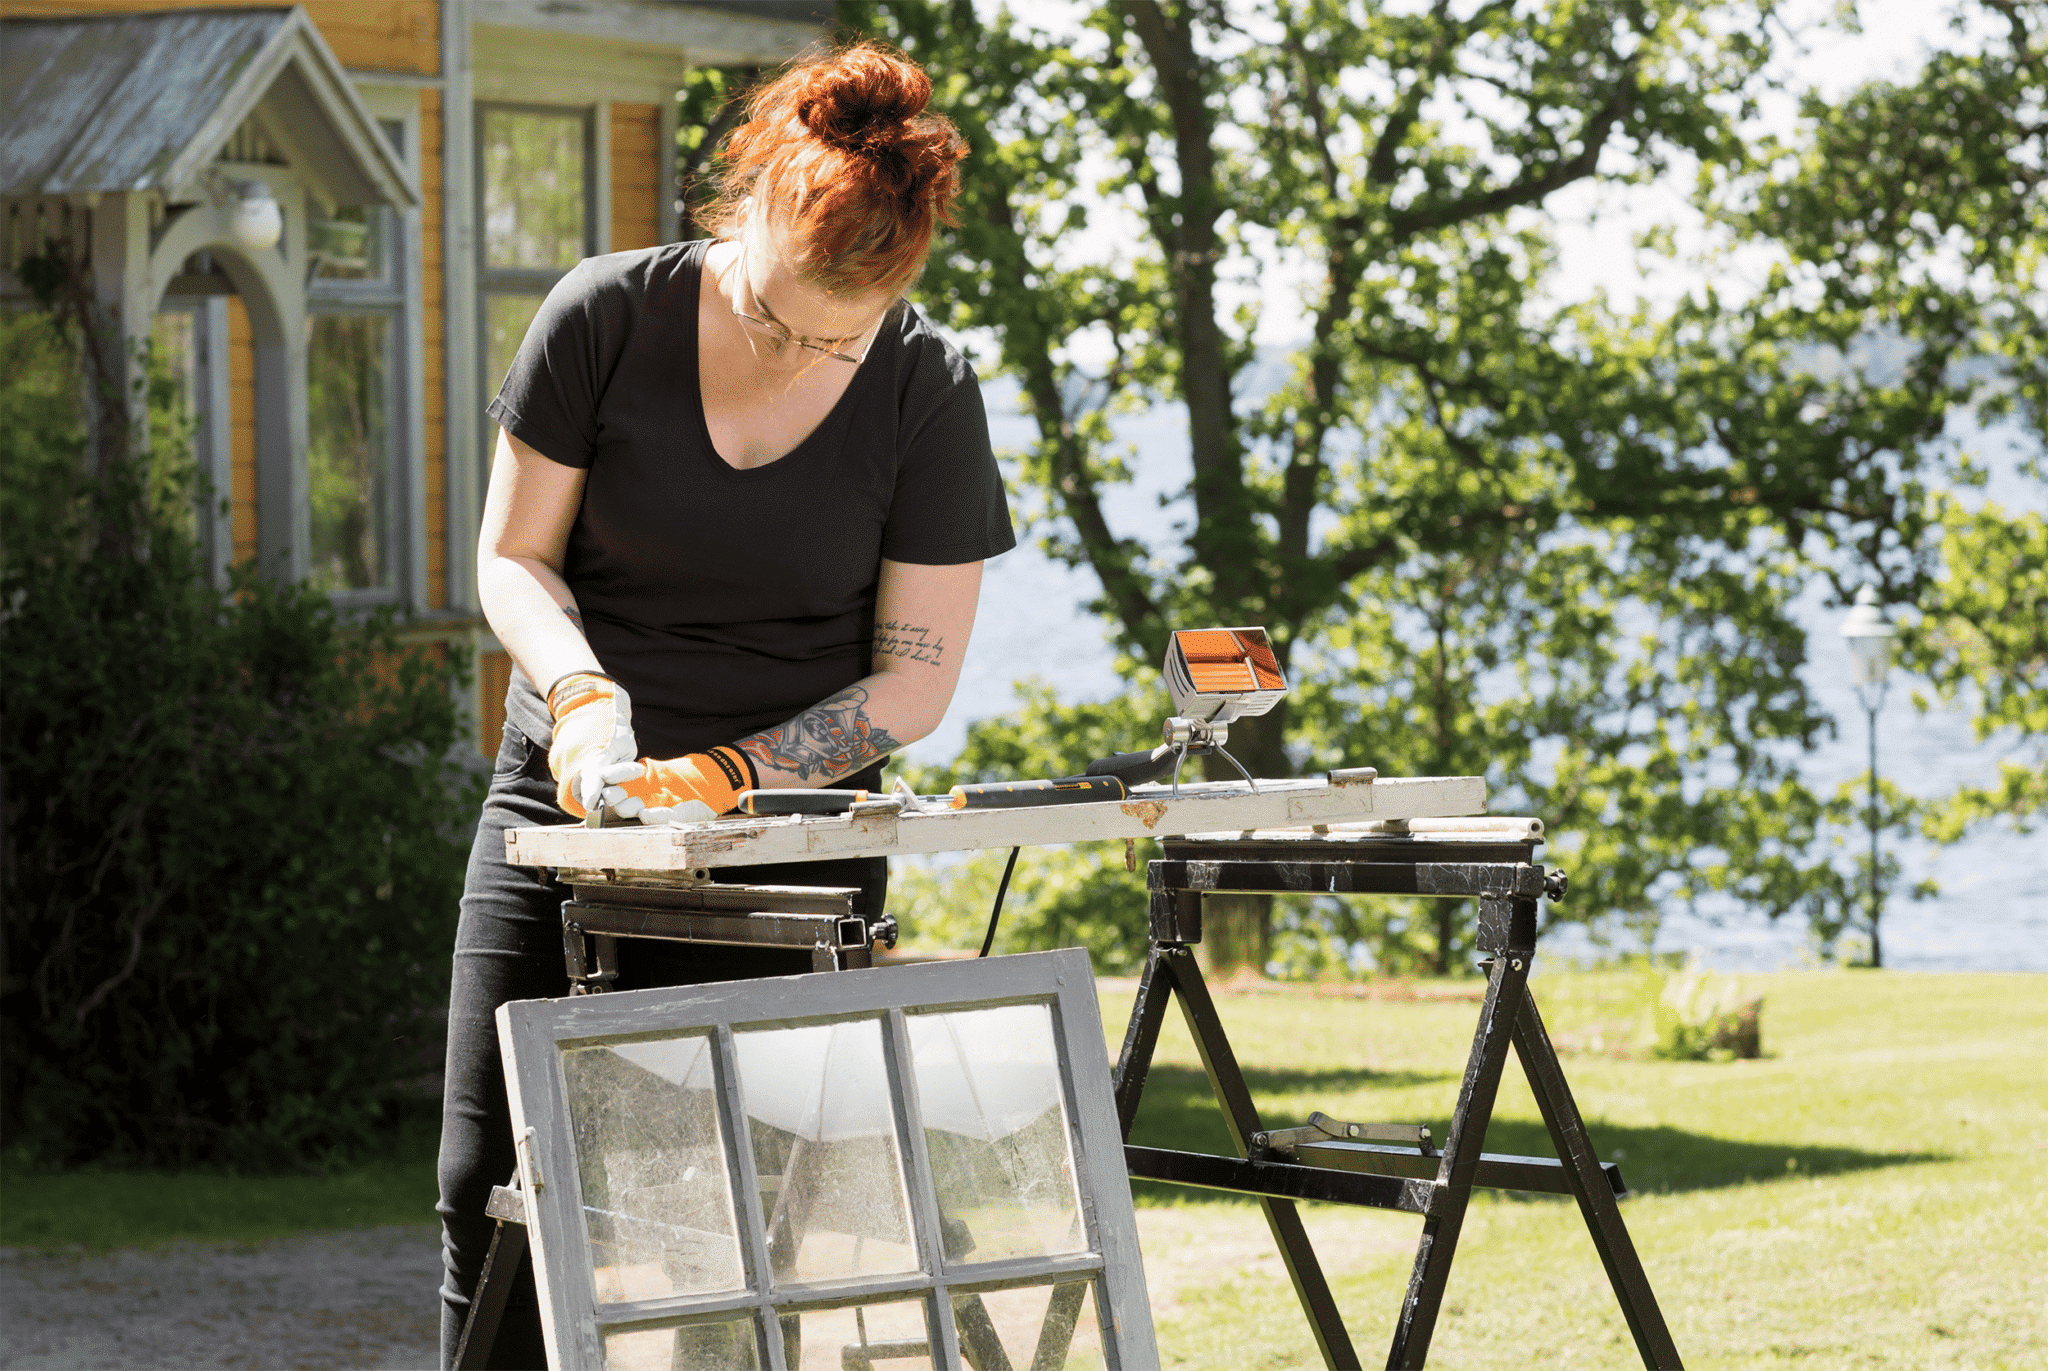
- Use Speedheater’s paint scrapers and heating system to soften and scrape off deteriorated putty and paint.
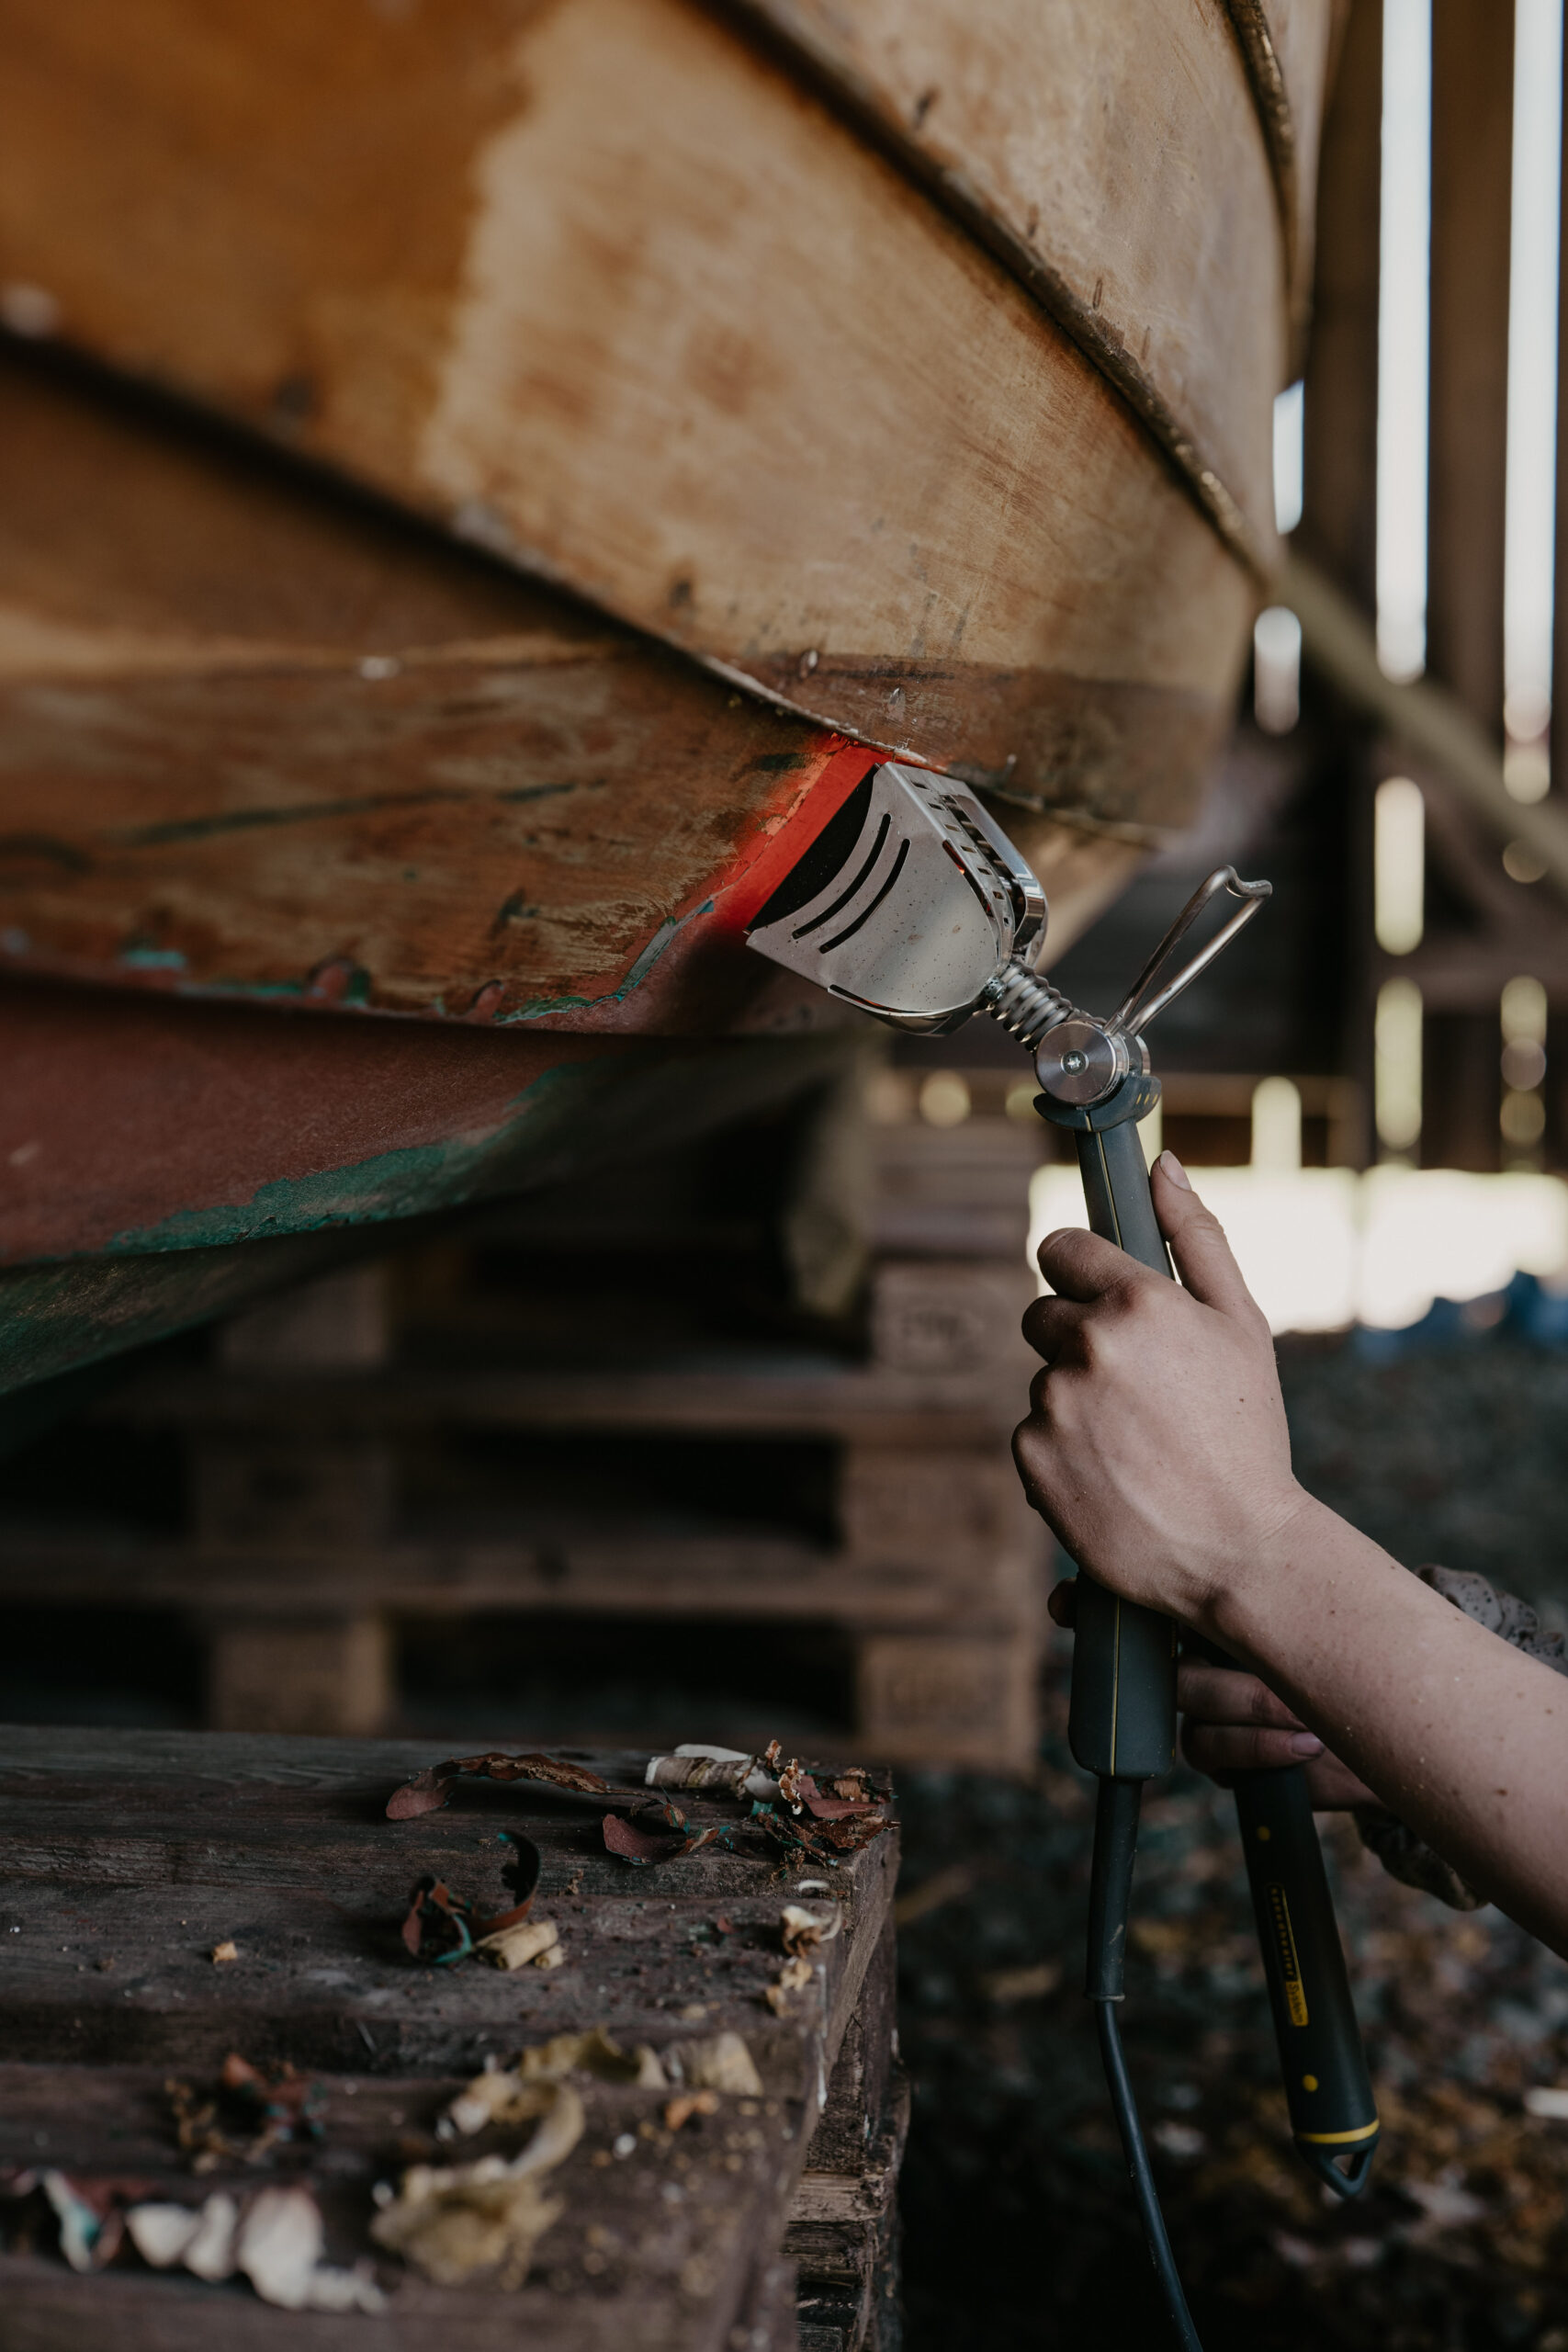
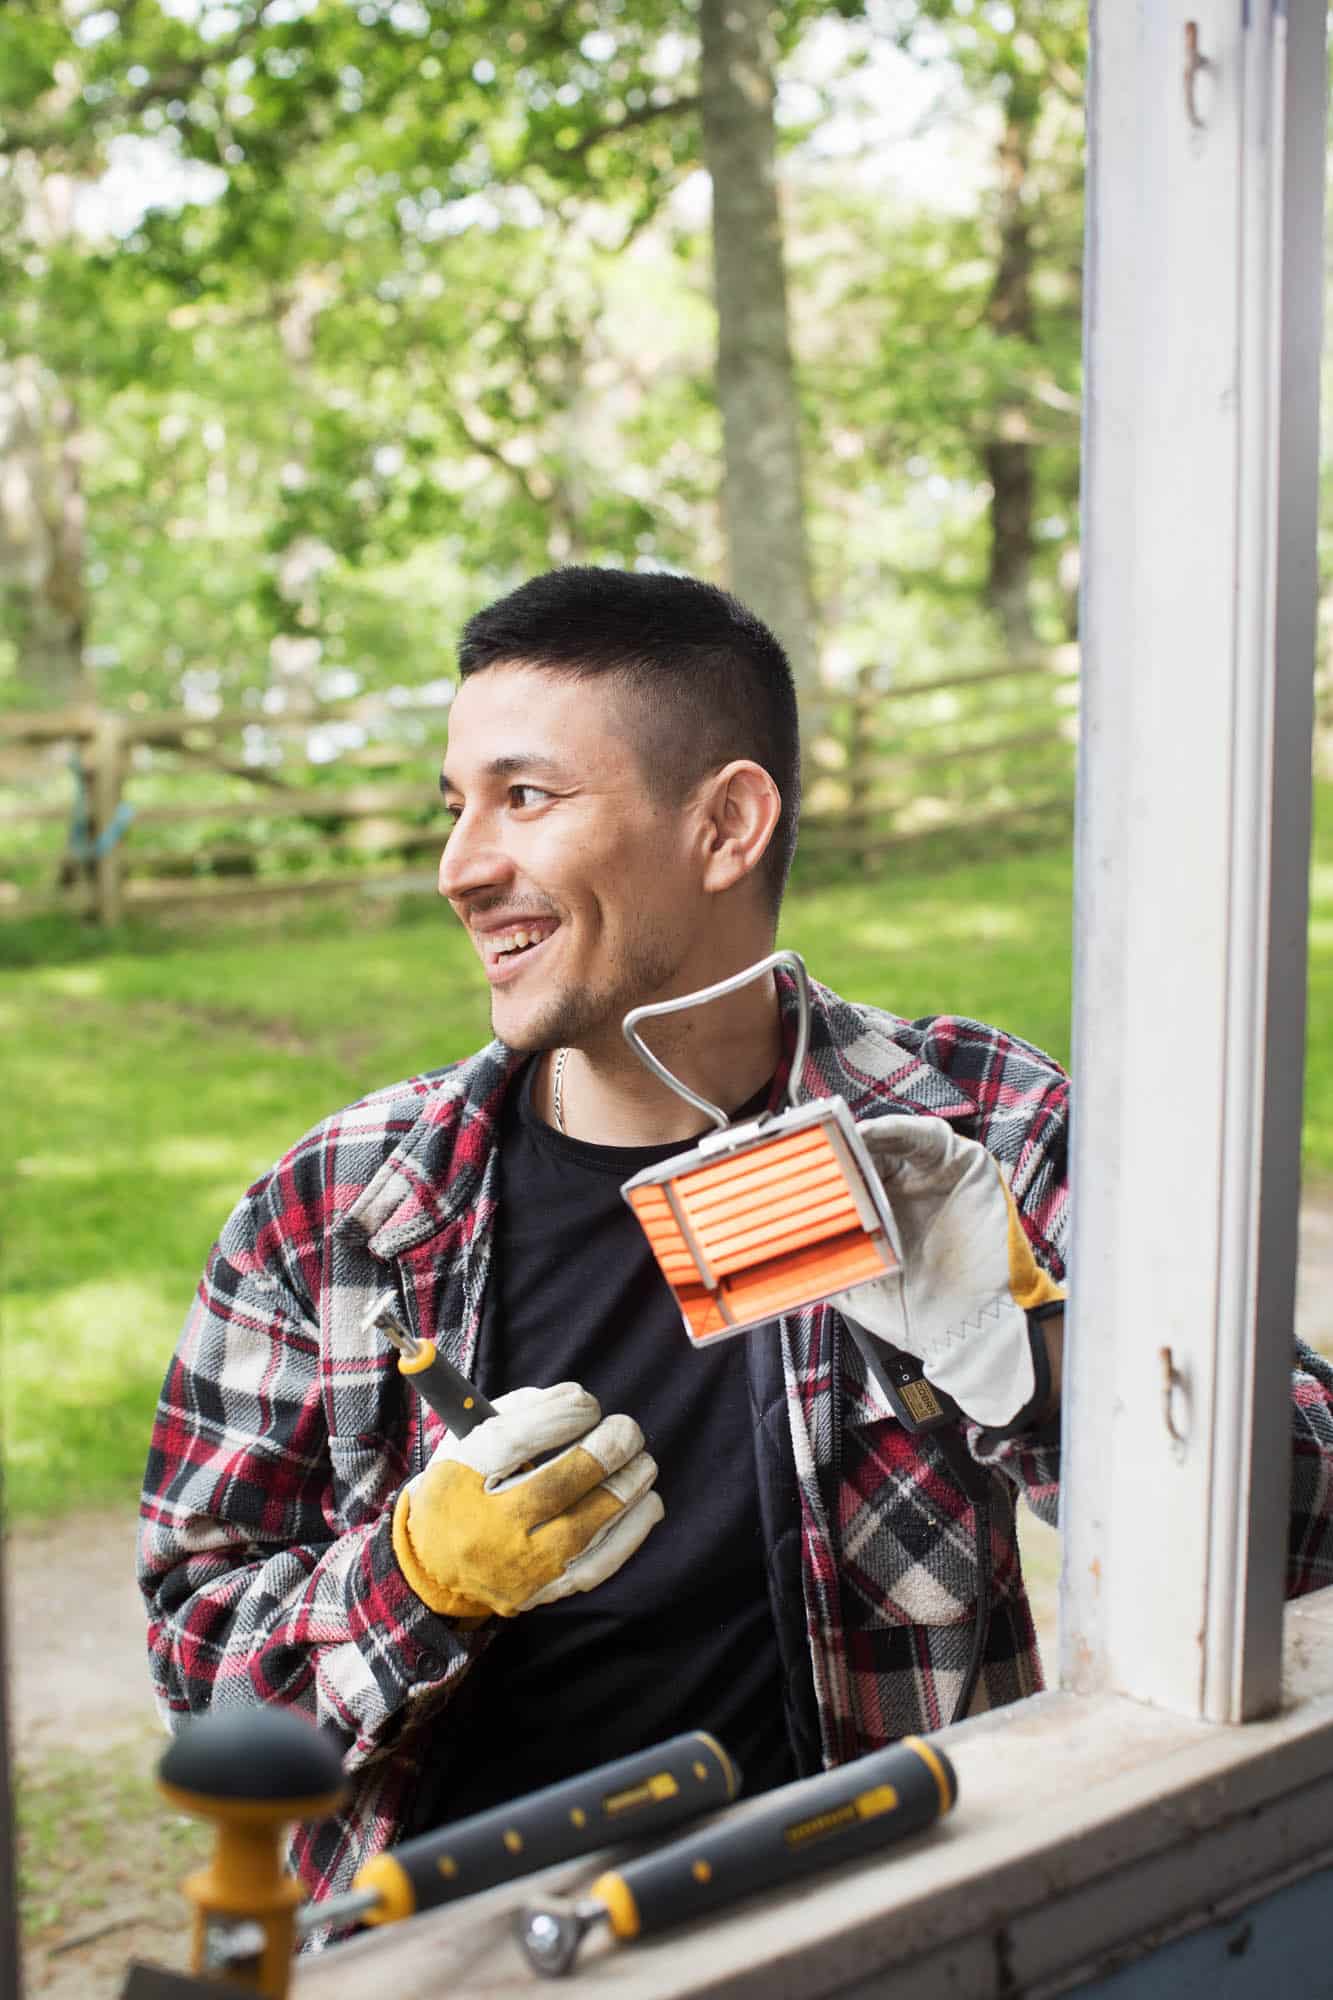
- To make the paint and putty soft in the easiest way, infrared light is used before scraping. The paint is heated from within, never reaching temperatures that could damage the wood. We recommend using Speedheater Cobra or Speedheater Rapid Slim for the most effortless, non-toxic, and gentle paint removal possible. Speedheater Cobra is suitable for smaller surfaces, while Speedheater Rapid Slim covers larger areas at once.
- Take care of the glass – if you need to get close to the surface, avoid directing the heat directly onto unprotected glass. Our recommendation is to use aluminum foil around a piece of cardboard or equivalent as protection. When removing putty, the machine can be angled towards and close to the putty, directing the heat towards it and reducing the risk of breaking the glass.
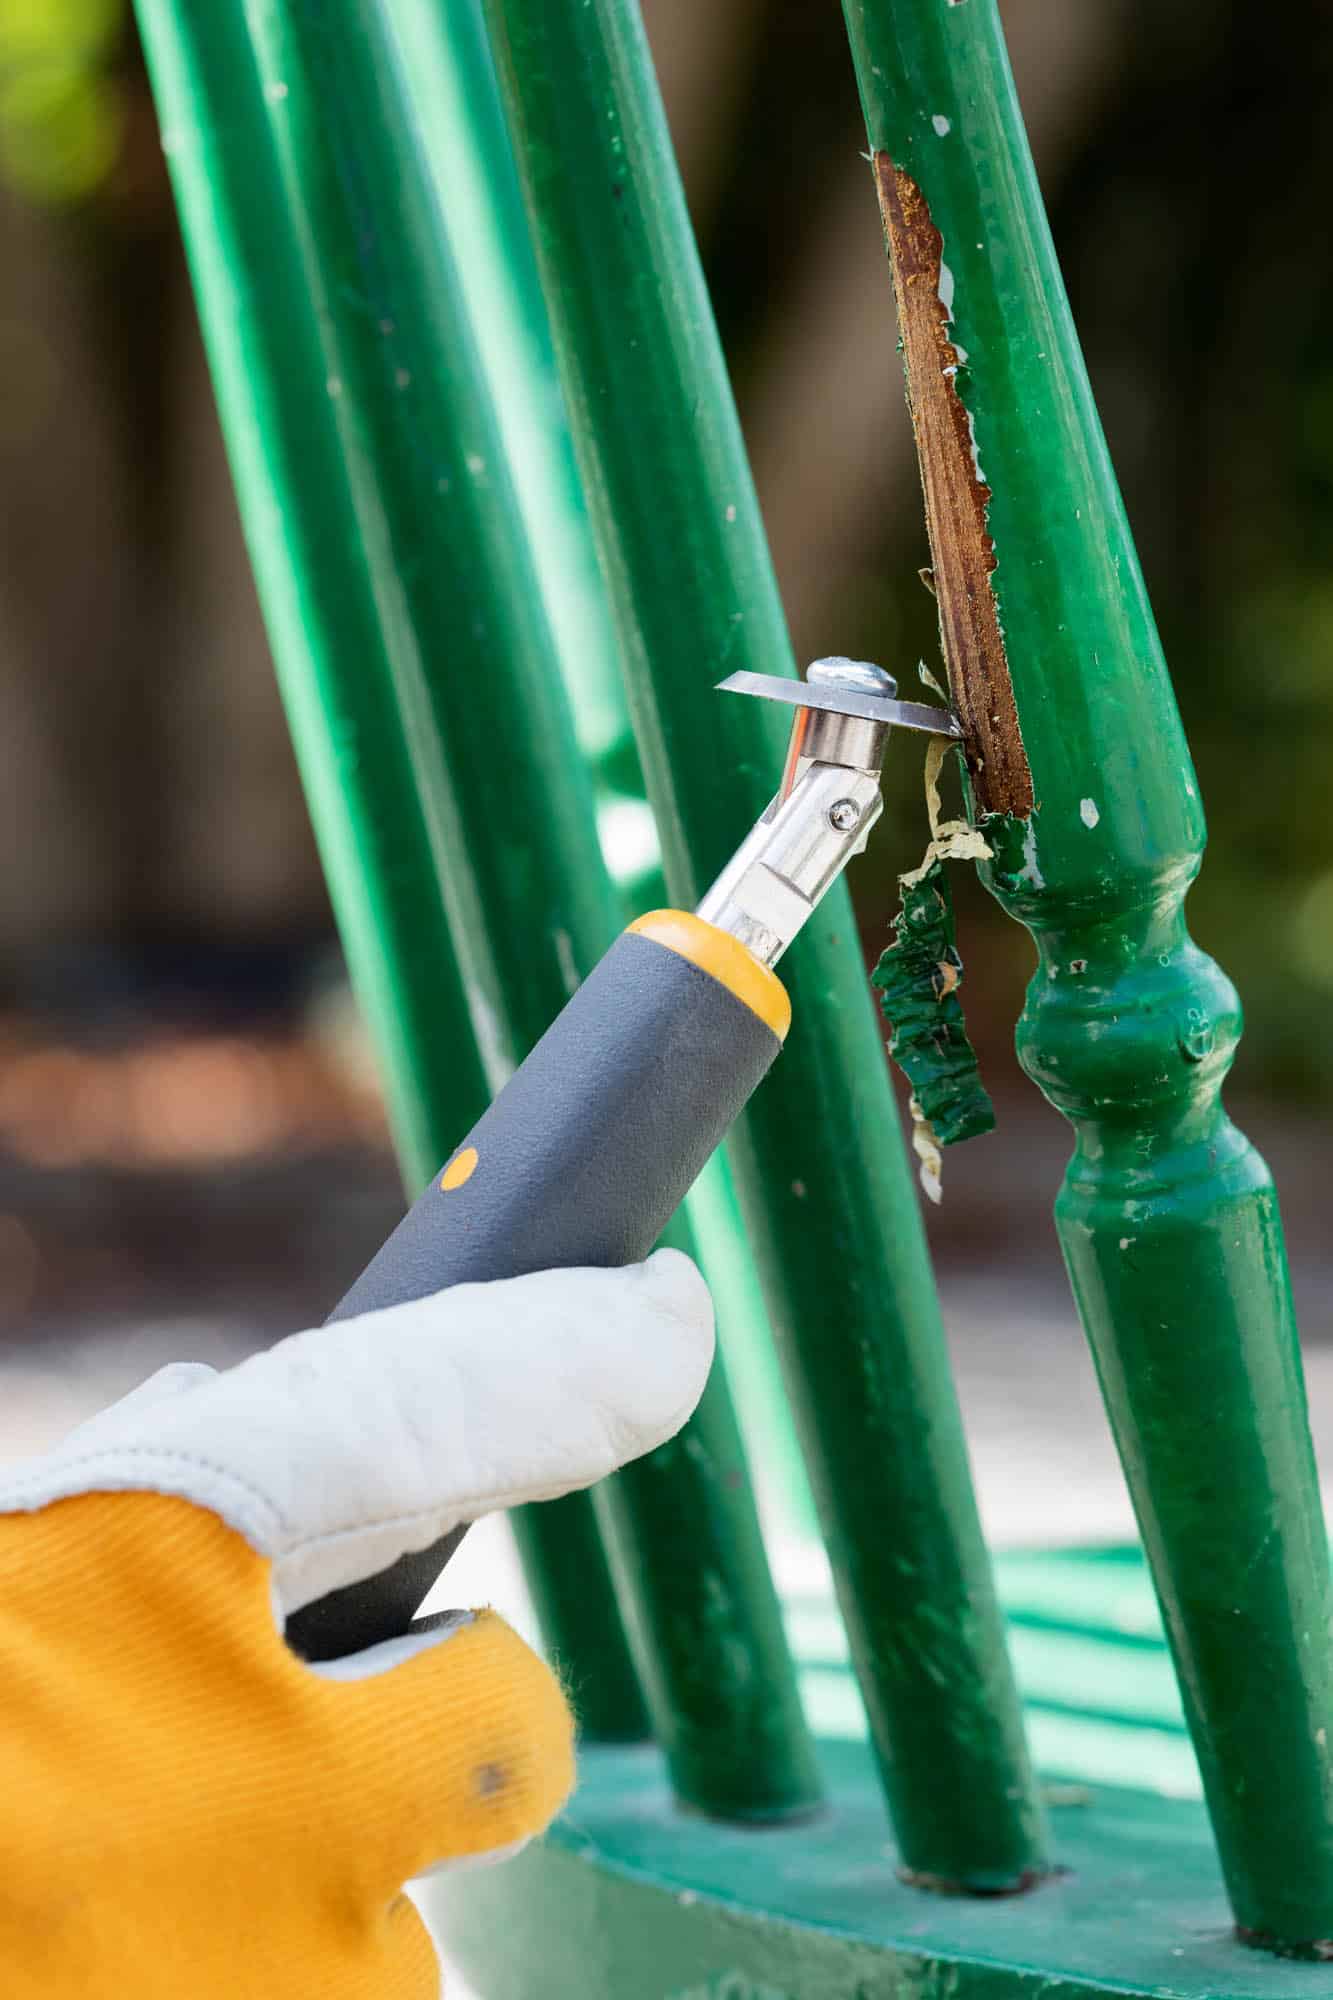
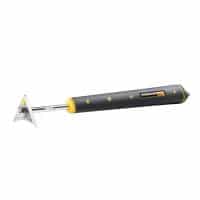
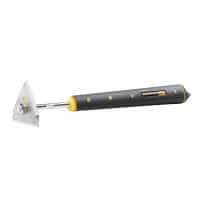
- Remove the now softened paint with a paint scraper that matches the profiles of your frames. For most windows, we recommend a Bumerang scraper with different profiles on its different sides. You’ll achieve the best results by pulling the paint scraper towards you with a gentle pressure against the wood.
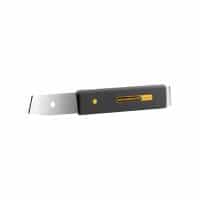
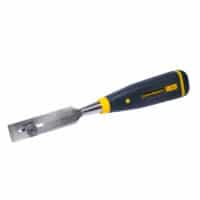
- To remove the old putty, use a putty knife with support wheels to detach it from the window frame. This way, you can remove the putty from the window frame without damaging the wood or glass. Then, detach the putty from the glass using a putty scraper gliding along the glass.
Watch our instructional video below for a thorough walkthrough on how to proceed with window renovation.
See products
Step 3
Paint and re-caulk the windows
- Sand all remaining surfaces to a matte finish so that the new window paint adheres properly.
- Check the quality of the wood and repair any rot damage. If any of the wood in the groove is dried out or gray, it’s a good idea to apply a base oil. Make sure the base oil has dried completely before caulking.
- Check to make sure that the moisture level of the wood is below 15% before starting to paint the window.
- Apply schellac to all grooves to prevent the wood from absorbing the oil in the putty.
- Next, apply a coat of primer to the sashes before reassembling the window panes and fittings.
- Apply putty along the bottom side of all the grooves. Next, place the glass pane back into the sash and gently press down, squeezing any excess putty out from behind the glass. Very carefully nail in glazing points, and protect the glass with tape. Next, choose a side and apply putty along the entire length of the groove. Once the putty has been applied, angle the putty knife towards the corner and drag the knife down along the pane, applying steady pressure to even out and pack the putty in place. Repeat this step on every side of the window pane. Let the putty dry completely before painting.
- Check the frames, trims and windowsills, scrape and paint as needed.
Tutorial - how to restore windows
An IR light reduces the risk of damaging surfaces
Window restoration requires patience and precision, but our tools make the restoration process efficient and reduce the risk of damaging the glass and wood surfaces. Using only a scraper is unecessarily arduous and runs the risk of marring and damaging the surface. In many cases, old windows have beautiful hand-blown glass that is fragile and requires careful handling. Our infrared technology is specially engineered to work at lower temperatures, which reduces the risk of damaging both the glass and surface.
Versatile tools that remove paint and putty
With Speedheater, you can quickly soften and remove putty, peeling paint and mold, as well as dry out any moisture trapped in the window sash. In other words, our Speedheater is an all-in-one tool that lets you work efficiently! A tool for every step of the window restoration process. Our products let you gently remove paint all the way down to the surface in just a few seconds. The final product of any painting project always depends on the base layer of paint. Once the paint has warmed up and softened, it becomes easy to scrape off without damaging the surface.
Start repainting and caulking right away without waiting
In just a few minutes, you’ll have a clean and paintable surface. Thanks to our unique technology, your surface will be dry and cool enough after the treatment to start repainting immediately – no waiting required!
Environmentally friendly and durable technology for window restoration
Using infrared technology to remove paint is gentle on both you and the environment. With our products, there’s no need to handle any chemicals or endanger yourself or the environment. Our IR technology ensures non-toxic paint removal. As if that wasn’t enough, our products are designed with long-term quality and durability in mind, meaning our products will stay with you for many renovation projects to come.
+
This product has multiple variants. The options may be chosen on the product page
Quick View
+
This product has multiple variants. The options may be chosen on the product page
Quick View
Contact us to get advice personalized to your needs
Speedheater is a company that develops, manufactures and sells products and system solutions for putty, varnish and paint removal. We are a company that strives at every stage to facilitate and streamline our method for paint removal. The Speedheater IR System is a method that is more environmentally friendly, safer and more affordable than all other methods for removing paint. Feel free to get in touch for a free quote on our unbeatable method for heating and removing paint from exteriors, boats, furniture and cars.





 Svenska
 Français